Stable Diffusion is a deep learning model that employs diffusion processes to generate high-quality artwork from input photos. Simply said, when you provide the model a cue regarding Stable Diffusion, it will be taught to generate a realistic picture that fits your description.
In recent years, AI image generating models have advanced significantly. One such breakthrough model is Stable Diffusion, an open-source text-to-image model released in 2022 using deep learning methods.
The Stable Diffusion model allows users to create images based on text descriptions. In other words, this technology can turn the language the user provides as input into a visual image. In this article, we’ll look at Stable Diffusion technology, how it works, and many techniques to help you use it effectively.

AI image design technology from the future (Source: Nimblebox)
1/ What is Stable Diffusion?
First, let’s define Stable Diffusion. This is a deep learning model that employs diffusion processes to generate high-quality artwork from input photos. Simply said, when you provide the model a cue regarding Stable Diffusion, it will be taught to generate a realistic picture that fits your description.

Images are generated directly through this AI technology (Source: Zapier)
This is a huge advance over prior text picture generators since it can deal with complicated and abstract language descriptions. It does this using a novel approach known as stable training, which enables the AI model to generate high-quality pictures that are compatible with the text input.
The AI generator can produce portraits, landscapes, and lifelike abstract art. This technique has been utilized in a range of applications, such as scientific picture generation, digital art creation, and video game development.
2/ The advantages and disadvantages of stable diffusion
Advantages
- One of the most distinguishing features of Stable Diffusion AI is the usage of Negative Prompts. Negative prompts enable the user to indicate which aspects to ignore during picture production, hence avoiding unwanted visual characteristics.
- In addition, this tool offers several tuning possibilities. Users may edit the original picture or create totally new images based on it. Using Clipdrop’s full capabilities, users may trim, modify, alter lighting, and access many more features.
Disdvantages
- However, there are some disadvantages to consider. The minimal monthly fee for using Stable Diffusion via the Stability AI website is $13 (USD).
- Furthermore, navigating the UI might be complex, since users must move between tools to apply additional effects.

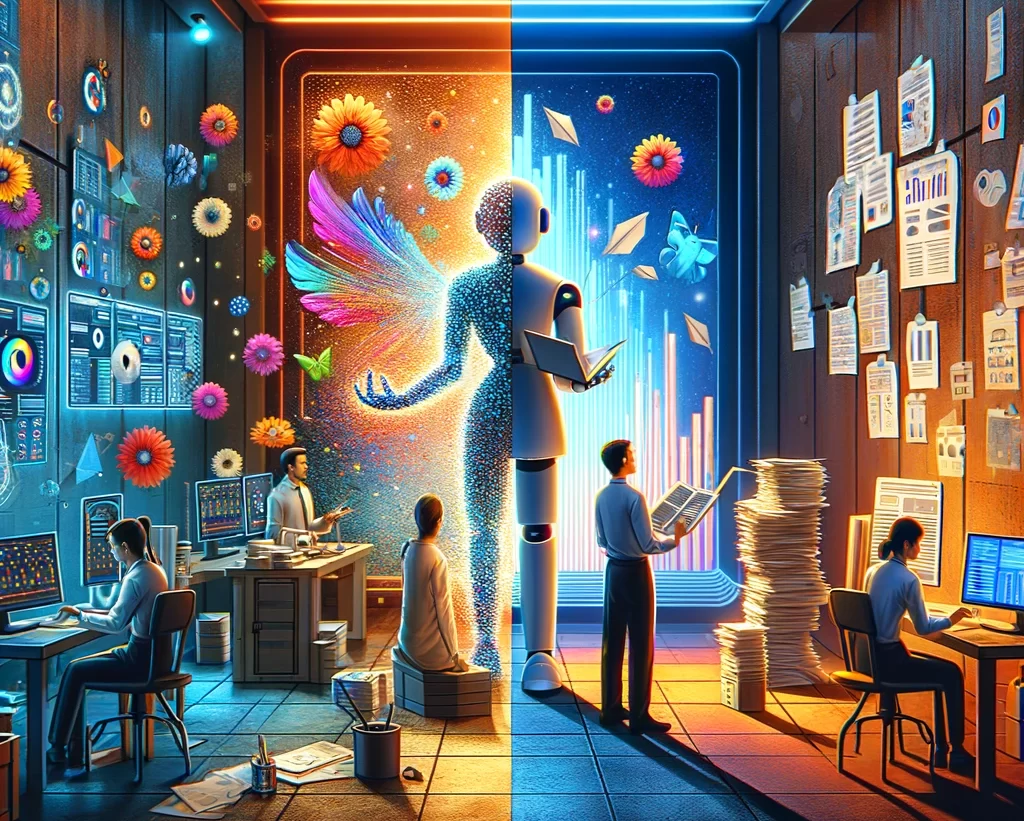
Before and after experiencing this technology (Source:Trituenhantao.io)
3/ How to Use Stable Diffusion
In case the user is not familiar with what Stable Diffusion is or if you do not know much about Python code. You can absolutely use the online method to create beautiful photos.

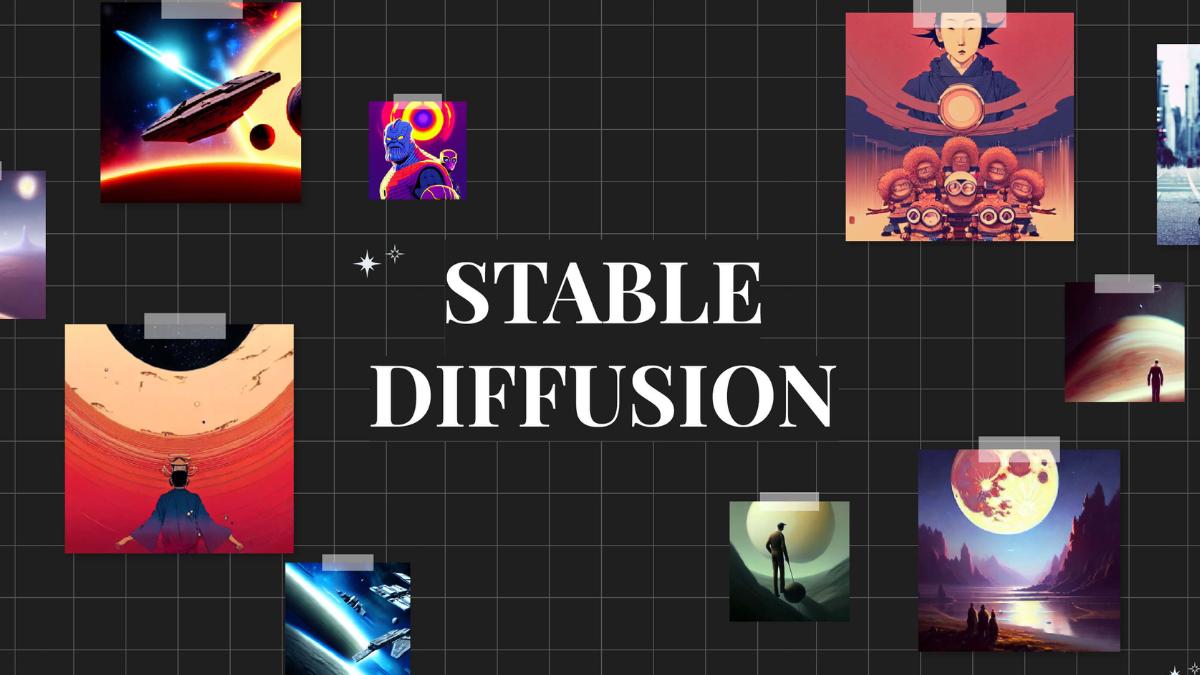
Breakthrough, Innovative, and Effective – Stable Diffusion AI technology (Source: Medium)
3.1. On Website Stable Diffusion
Step 1: Visit the official website of this AI image creation tool via the link https://stablediffusionweb.com.
Step 2: After that, on the website, users will read the information and uses of this tool. However, this technology can provide an alternative for users to use the free version.
Step 3: After selecting the demo experience process, this solution will provide it to you directly down the website. Here users will see a box where you can enter text. Besides, another empty box has the role of displaying the created image.
In general, anyone can use the Stable Diffusion model to create images quickly by following the techniques mentioned above. It’s very intuitive, simple and effective!
3.2. On Dreamstudio Website
If you prefer another way of experience, in addition to the online method, when learning about Stable Diffusion, remember that using Dreamstudio will also be an effective way to create beautiful AI photos. The following specific instructions may help you:
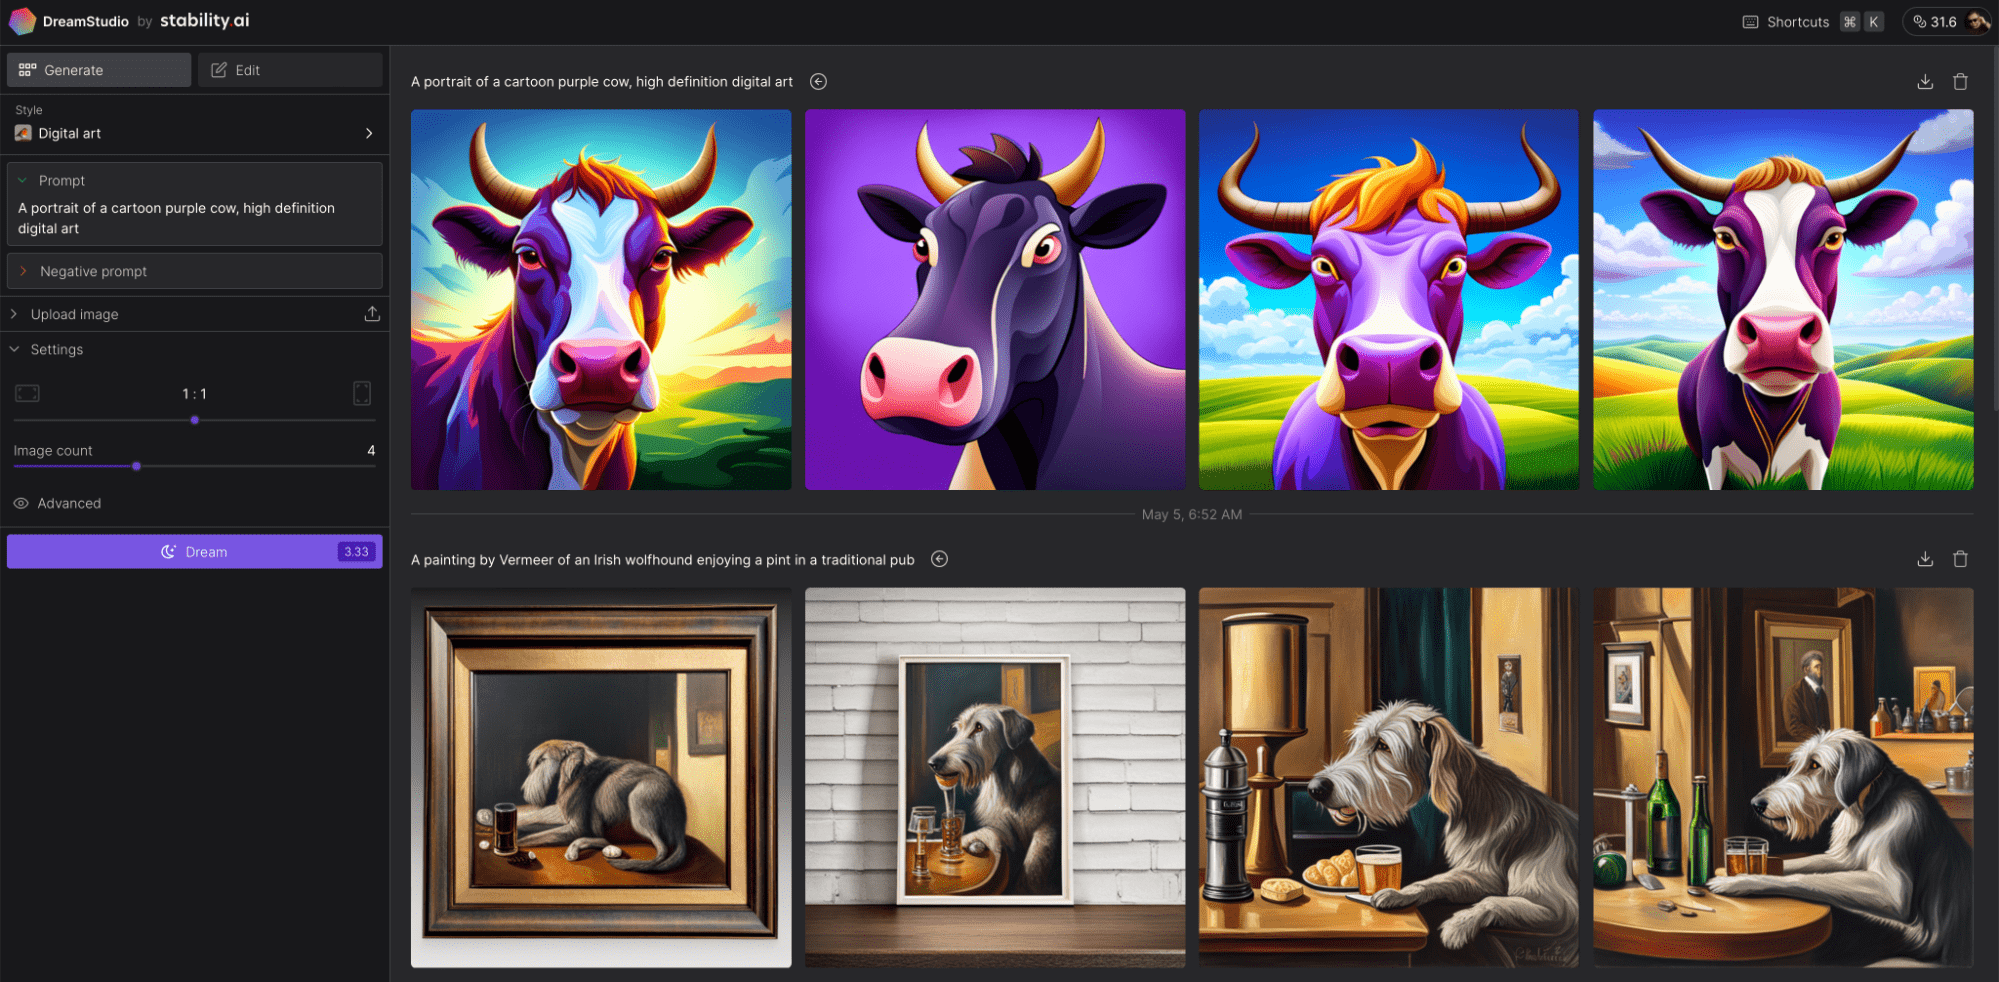
Step 1: Go to DreamStudio’s website via the following link https://beta.dreamstudio.ai/generate.
Step 2: After successful access, specific options will appear on the website interface including:
- Fantasy Art: The main feature is to create vivid and quality 3D details.
- Prompt: Where users provide design commands (Note: Only available in English).
- Negative Prompt: Commands are not allowed due to software regulations.
- Upload Image: Upload available photos for users to design.
- Image Count: Count the number of images.
Step 3: Based on the above features, after users complete customizations, they can select “Dream” to start creating their own masterpieces.
4/ How to Install Stable Diffusion

A quick way to download and set up for Stable Diffusion users (Source: stableaiprompts)
Similar to how Stable Diffusion AI is used, users can also consider the tool’s different download methods. In this article, we will introduce the two most popular methods for your consideration.
First, users need to learn the configuration parameters and regulations that Stable Diffusion XI requires in order to maximize its performance. Here are the hardware details of the device:
- Operating system: Windows 8, 10 or 11.
- GPU: at least 6 GB VRAM.
- Most modern NVIDIA GPUs are included.
- 10GB of storage on a hard drive or SSD card.
- Additional software: Git installer, Miniconda3.
- Download Stable Diffusion File GitHub.
Note: Additionally, the latest versions of this tool can run on macOS and Linux smoothly.
4.1. Download Stable Diffusion using Git
Please note that this method is often recommended for users with advanced IT expertise because this tool can help developers manage the multiple versions they are working on.
Step 1: The first step is to install Windows x64 from the next Git website, open the installer to install the software. During this process, there were some recommendations that users should prioritize customizations in the default mode.
After completing the above process, the user selects “Git from the command line also from 3rd-party software” in the “Adjusting your PATH environment” section.
Step 2: Go to the next stage, requiring users to access the following link https://www.python.org/ftp/python/3.10.6/python-3.10.6-amd64.exe to install Python. Creating Python-powered AI images on Stable Diffusion will be more efficient with scripts.
Step 3: Continue accessing the link “https://huggingface.co/runwayml/stable-diffusion-v1-5” to install.
Note: As mentioned, working with Git to install this software is designed for those who already know how to use Python professionally because it requires a lot of IT expertise.
4.2. Install using Miniconda3
In addition to downloading using Git, users can consider Miniconda3. This is considered a useful software that helps optimize the process of downloading, installing and managing all necessary libraries. Miniconda3 must be said to be indispensable if you want this AI solution to operate smoothly.
Step 1: Coming to step one of this download process, users should quickly visit the official Miniconda3 page and then select the “Mininonda3 64-bit” version to best optimize their Windows version.
Step 2: The download process is complete and it is time to set up the software. Compared to using Git to install Stable Diffusion AI, the Miniconda 3 method will optimize the user’s speed and operation process more. However, you should note some of the following options for correct setup. Install for: Just Me (recommended) or All users (requires admin privileges)
Step 3: Coming to the final step in the process, users need to note that before choosing Next to complete the installation, you need to select the All User (requires admin privileges) command. Because if not, you may spend more time fixing problems that may arise.
Conclusion:
In short, this article has helped you learn a bit about Stable Diffusion as well as how to download it and use it most effectively. Hopefully with the information provided, readers will have another useful option to unleash their creativity in general and image design in particular.
Or if you desire a separate system, please contact us. We will design an AI image creation system specifically for your business.


